LEA Administrators, welcome to the new CALPADS!
Here is a primer for LEA Administrator logging in for the first time. These steps are only applicable to LEA Admin users. For other user please refer to the regular Log-in instructions.
I have my email access!
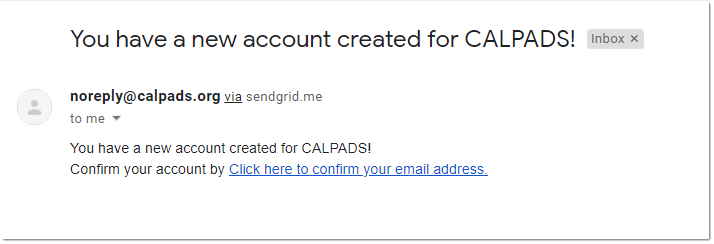
Step 1. User receives email notification that a CALPADS account was created for them and is prompted to click on the link to confirm email address.
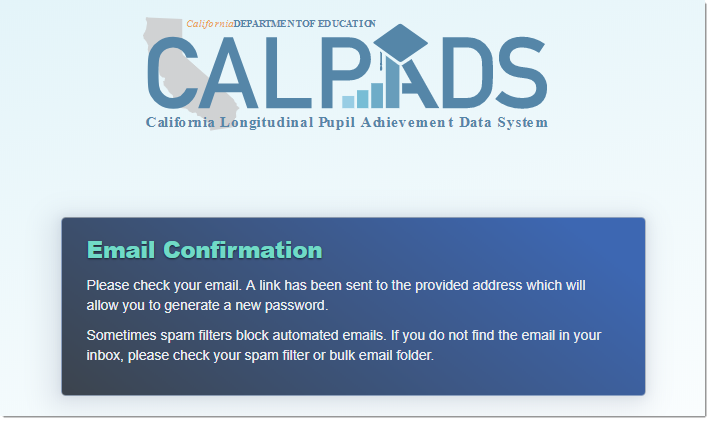
Step 2. An email confirmation message appears upon clicking on the link from the email message. It also notifies the user that another email was sent to generate a password.
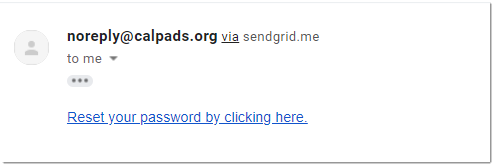
Step 3. User receives another email with a link to generate/reset their password.
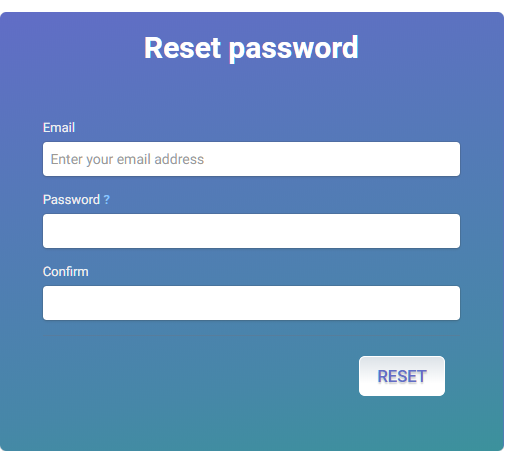
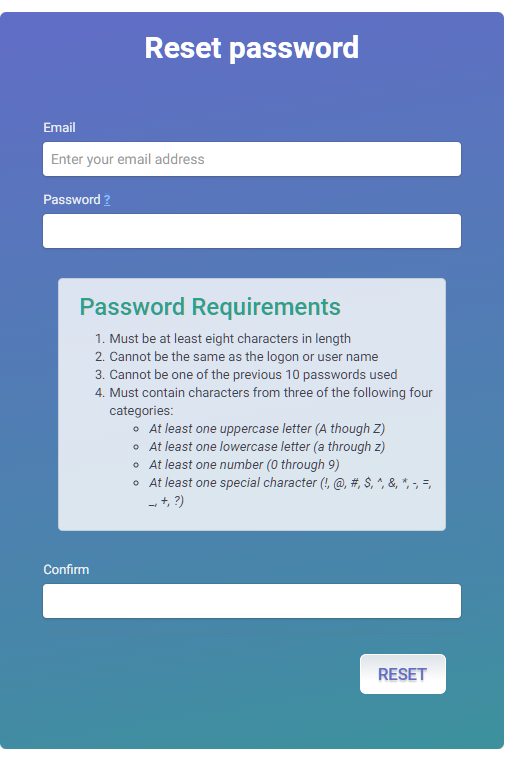
Step 4. The user is redirected to a CALPADS page where the email address and desired password for the account is established.
Step 5. A reset confirmation will appear with a link to the CALPADS site where the user can log in.

- NOTE: Users are expected to confirm email, reset password and log in the first time to CALPADS within 24 hours of user account creation. Otherwise, the email confirmation and set password link previously received will expire. Click here to view tutorial for expired token scenario.
Step 6. At the CALPADS log in screen, the user enters the email address as the Username and their recently created password, and then clicks on the Log in button.
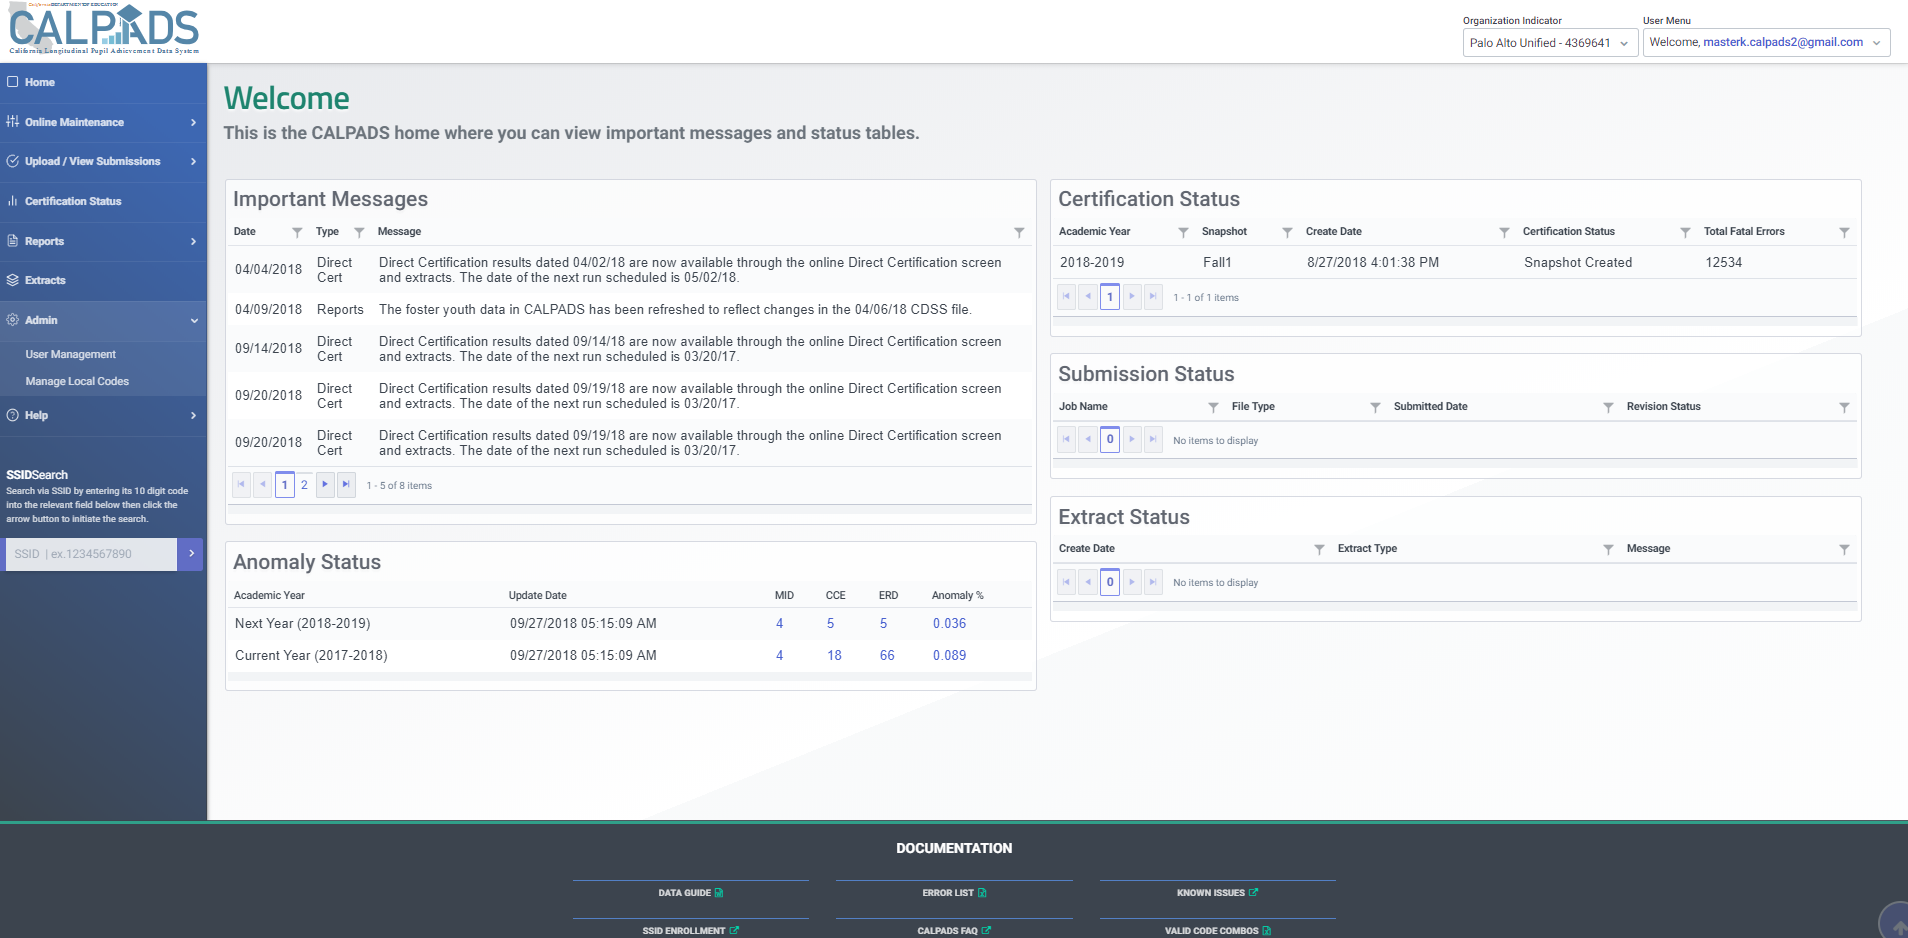
Step 7. The user lands at the CALPADS home screen.
I'm logged in! What now?
LEA Administrator accounts only come with the LEA Administrator role, the next step in the process is to assign ALL other roles to your account.
Step 8. From the Left Navigation menu, click on User Management. Users will be redirected to the User List section of the User Management page.

NOTE: You might see other user accounts not associated to you organization. These are floater accounts associated to other LEAs who have not yet confirmed and logged in yet. Do not be alarmed, these users will not have access to your LEA unless you pick them up and assign them to your organization.
Step 9. Enter your email address in the email/username field and click on Search button.

Step 10. Click on the Edit button.

Step 11. At this section, the user may expand the roles to see the current roles assigned. By default, LEA Administrators will only have the LEA Administrator role. To add all the other roles, click on Edit.

NOTE: If the user account is assigned to multiple schools within the district, the user will see each of the school association and the role sassigned to each.
WARNING! Please do not click the delete button if you are the LEA Administrator. This will remove your association to your LEA.
Step 12. The User Profile window will appear. The LEA Administrator should assign ALL the roles by clicking on the double arrow to transfer the roles to the selected box. Click on the Save and Close Window button.
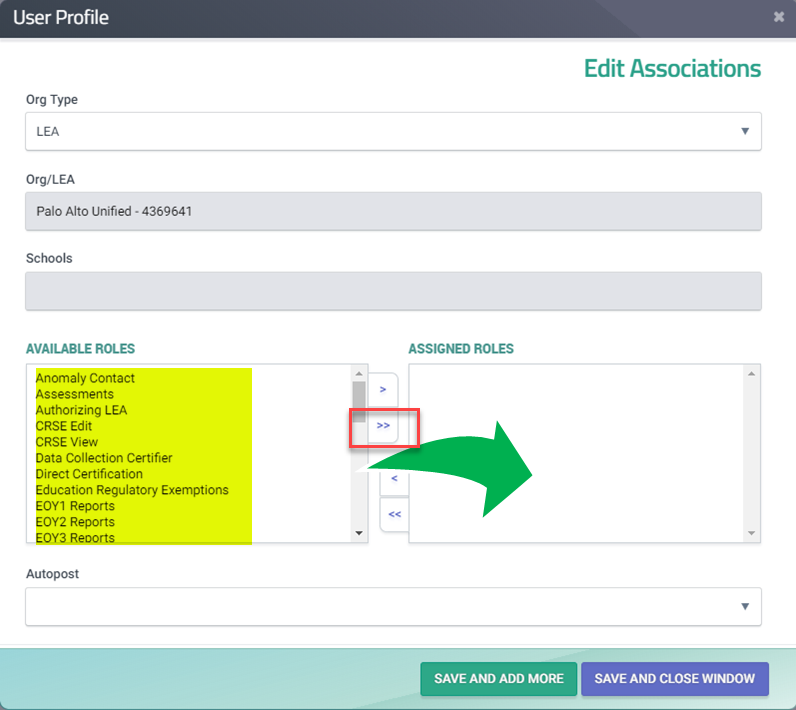
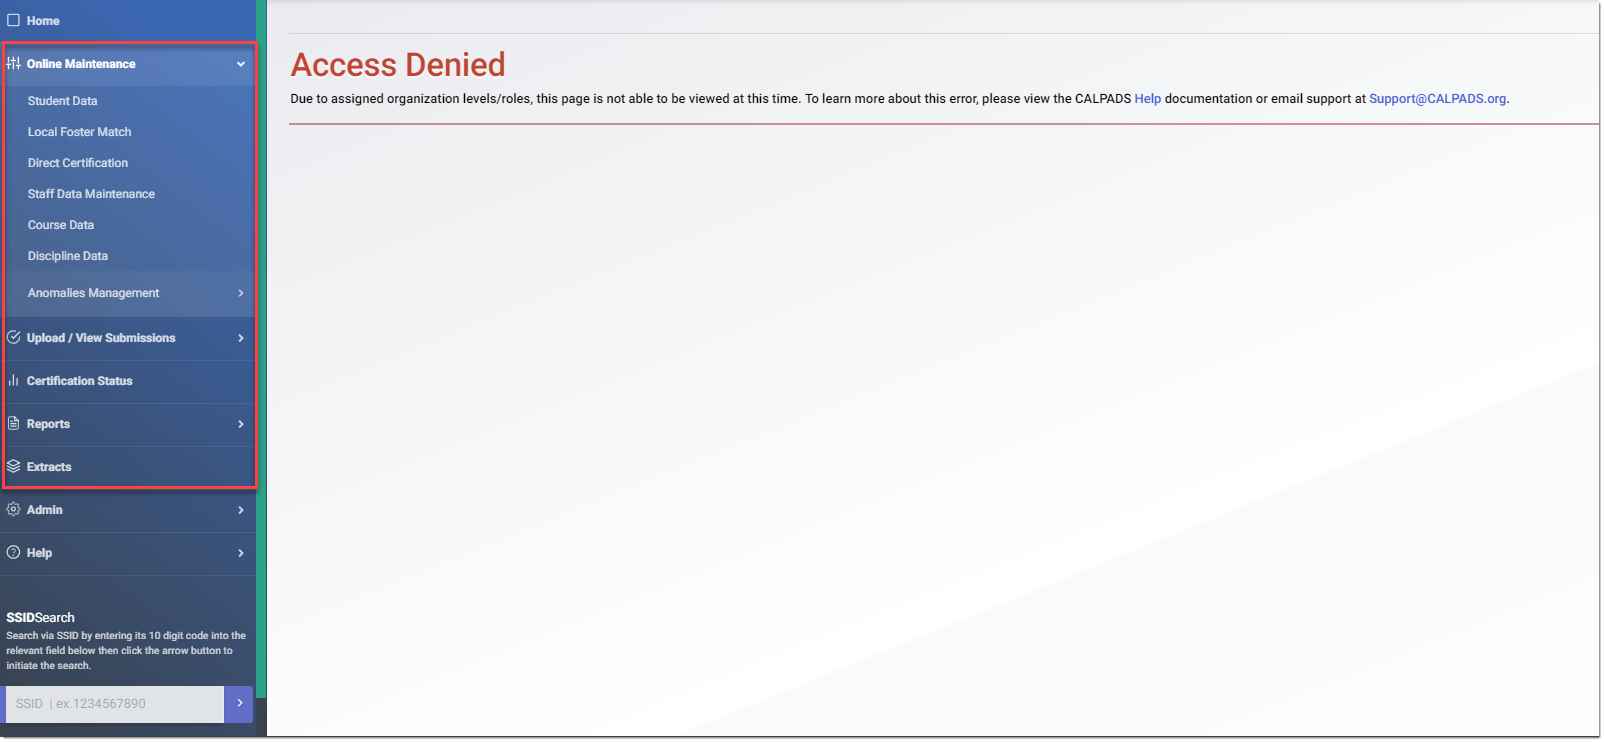
NOTE: Failure to add all other roles will limit access to other sections of the site.
Step 13. The User is directed back to the User account page where the roles count should now show 39.

I have multiple LEAs under my account. Why am I only seeing one?
To check if the other LEAs have been assigned to your account, click on the Organization Indicator drop-down filter located at the upper right corner of the site.

NOTE: Assigning the roles to the first organization does not automatically assign it to all organizations. The user needs to switch to each organization and follow Steps 8 to 13.
Things to Remember
-
Do not bookmark the CALPADS page until you've logged in and are on the homepage.
-
Do not click the delete button unless you want to disassociate an account from your LEA.
-
Please whitelist noreply@calpads.org or the @calpads.org domain so that all communications will get through to your inbox.